What Soil Must I Use In My Garden Planter Box For Carrots?
Share
Carrots must be an all-time favourite globally for home cooks, chefs, families and children alike. Their colour enhances plated food, they are great crunchy treats and can be used in raw and cooked meals! And their tops can feed your pets or compost or be grown to produce more seeds.
Here are our tips for which soil to use and how to grow yummy carrots.
What Soil Type To Use?
As you can imagine, carrots need to grow down through the soil and expand sideways so the more obstruction you put in their way, the weirder their shape will be. It also might stunt their growth. This is why they like a loose mix of clay, sand and silt (loamy soil) that is well drained so their ‘feet’ don’t rot. Too much clay and too much water will be retained.
When Should They Be Planted?
Carrots should be planted about a month before your spring has its final burst of cold. Your local gardening centre (or friendly farmer) can help you calculate this specifically for your area. After planting them, gently sprinkle them with water and water them a little daily. The soil should be moist, not wet, and watch out for sneaky weeds.
After a month, you can start giving them organic food to enhance their immune systems.
When Should I Harvest Them?
When your delicious carrot cuties push their shoulders above the soil and have become a lovely carrot-orange then they are ready for harvesting. This is the part that kids love! If you stagger the planting dates, you will have staggered harvesting dates which is great news for your menu needs.
How Do I Start The Process?
Clear your loamy solid of any pieces of bark, stones or lumps so there are no obstructions to your carrots’ long legs. Whilst your soil is loamy is good to enhance it with aged, organic compost to give your carrots lots of growing fuel.
You can plant the seeds in rows directly in the soil, 8 centimetres apart, a month before that last cold spell. The seeds are tiny so might need something to help separate them if you have big hands.
If your soil is damp (not wet) when you are planting then the seeds will adhere to the soil and not blow away with the tiniest breeze during the planting process. Cover your rows of seeds with about half a centimetre of fine compost and sprinkle with a fine spray of water. Remember, ‘moist’ is the aim, not drenched.
The Growing Phase
Seeds and seedlings like to be moist, not wet, which means daily light, fine spray watering. If there are hot days then you might need to add another watering session. Continue for twenty-one days and you will see their leaves starting to form. If you have planted some too close, this would be the time to move them to about eight centimetres apart. Remember to remove any sneaky weeds or they will be chomping all the nutrients.
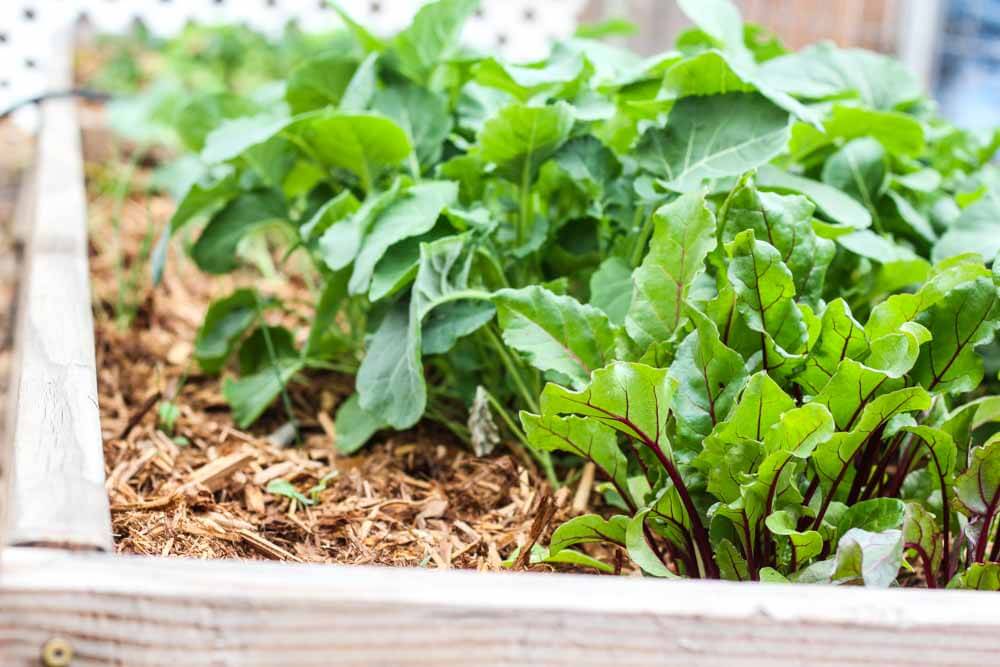
Carrots are sensitive to hot weather so add about eight centimetres of mulch over the top of the soil, leaving space for the leaves
Four weeks after you have planted them you can start feeding them with organic food. A weekly feed will help the immune system of the carrot and the soil.
Ready, steady, carrot! Now all you have to do is have fun growing this lovely vegetable.
Choose your perfect NZ-made garden planter box today!

 Australia
 United States


